Sydney-Wide, Wollongong & the Illawarra
24/7 Emergency Flood Service
Available Now (02) 9090 4625

OUR 11-STEP BATHROOM MOULD PROCESS
Our expert mould process is the most thorough in the industry.
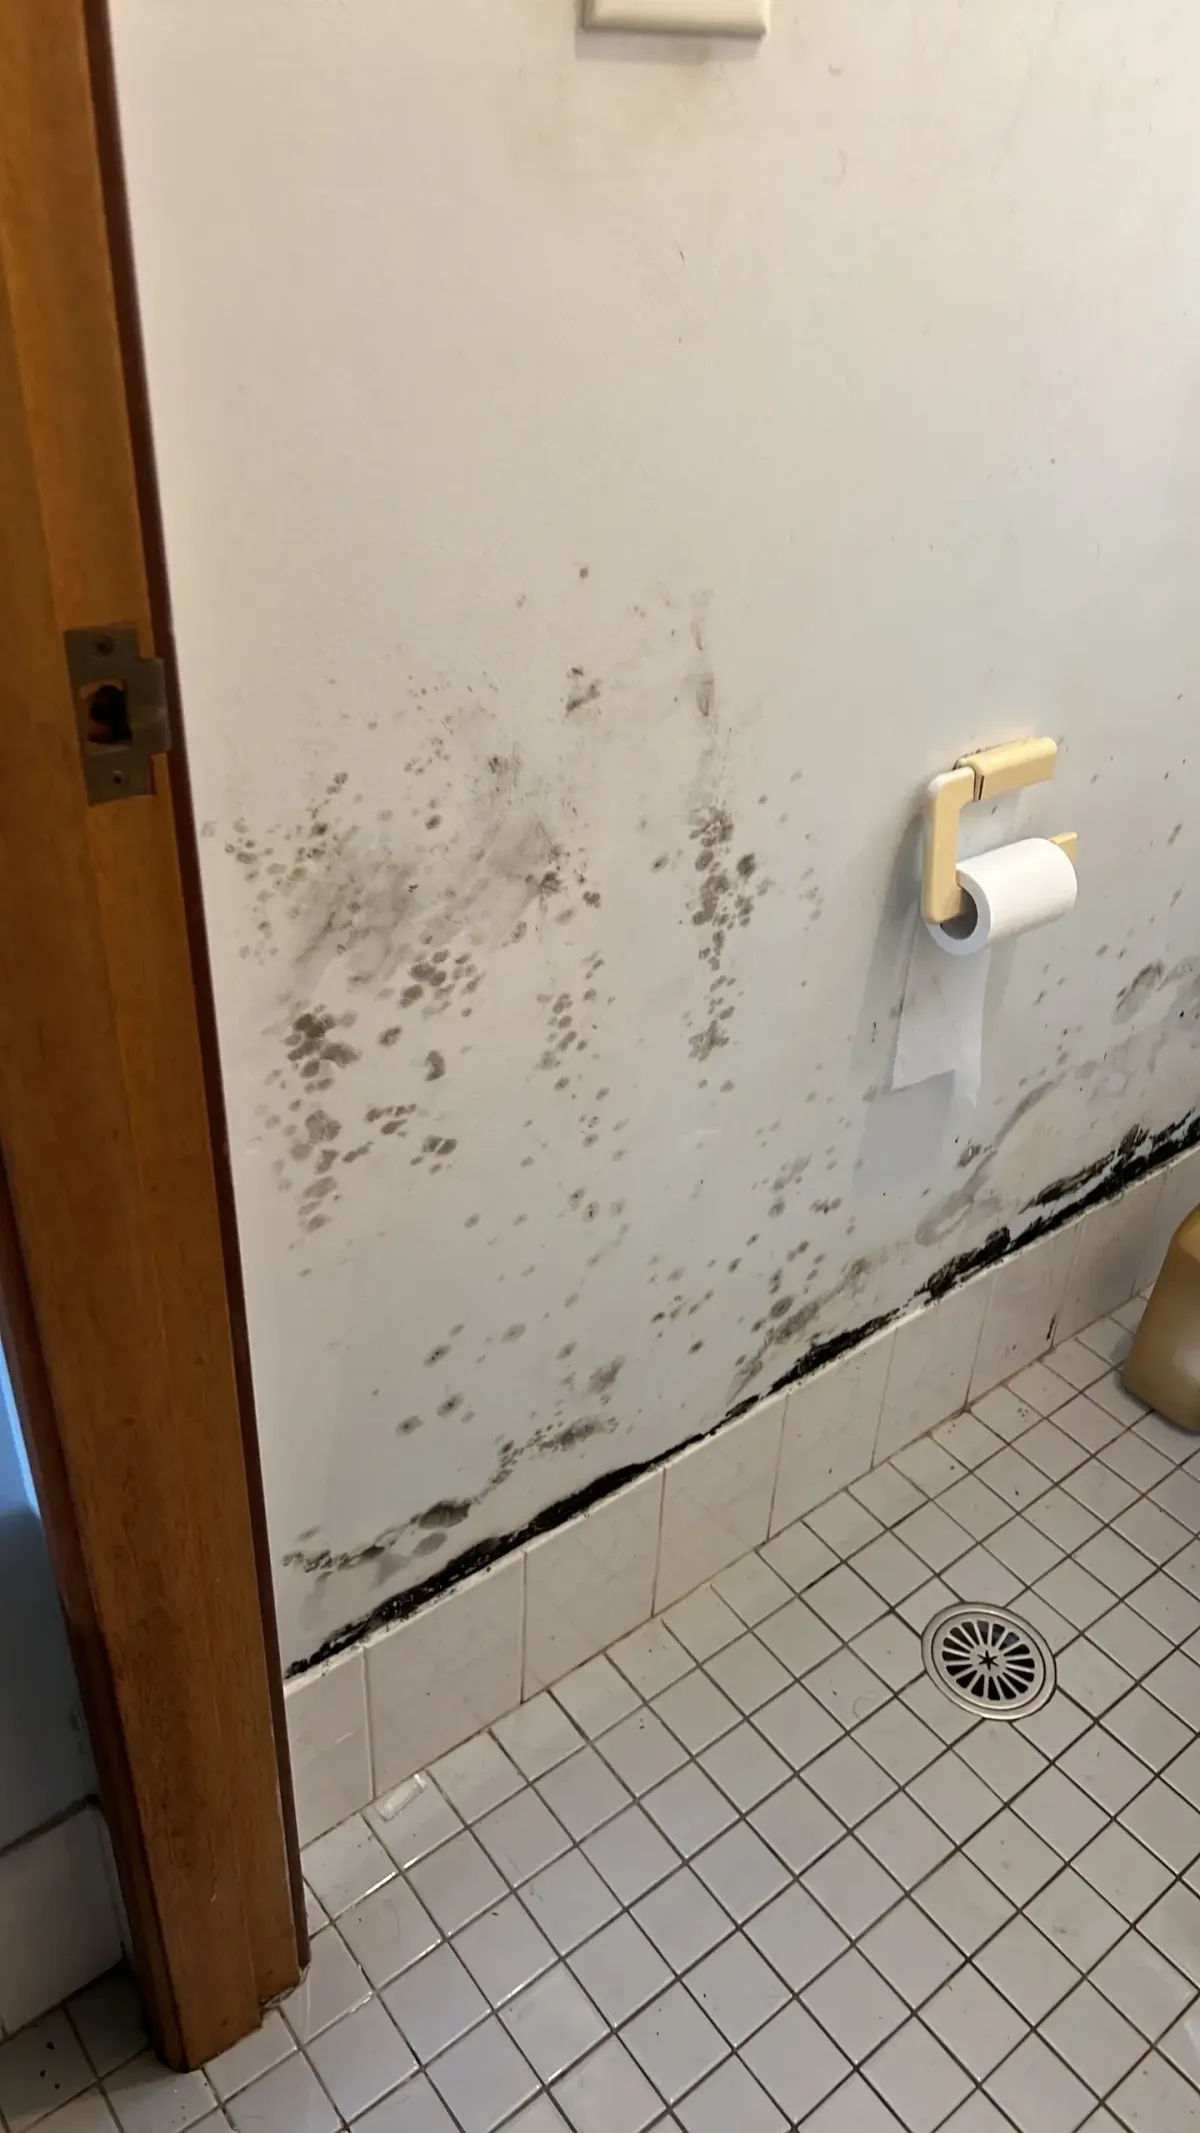
At High Demand Restoration, we pride ourselves in being able to expertly address even the most challenging mould problems in your property. One area where we often see mould issues is in people's bathrooms. These mould issues tend to be long standing with the occupiers stating they have 'Tried Everything' to fix the problem.
When we address such a problem, we leave no stone unturned during our investigation and resolution of your mould problems.
OUR 11-STEP BATHROOM MOULD PROCESS
Our expert mould process is the most thorough in the industry.
At High Demand Restoration, we pride ourselves in being able to expertly address even the most challenging mould problems in your property. One area where we often see mould issues is in people's bathrooms. These mould issues tend to be long standing with the occupiers stating they have 'Tried Everything' to fix the problem.
When we address such a problem, we leave no stone unturned during our investigation and resolution of your mould problems.
BATHROOM MOULD PROCESS
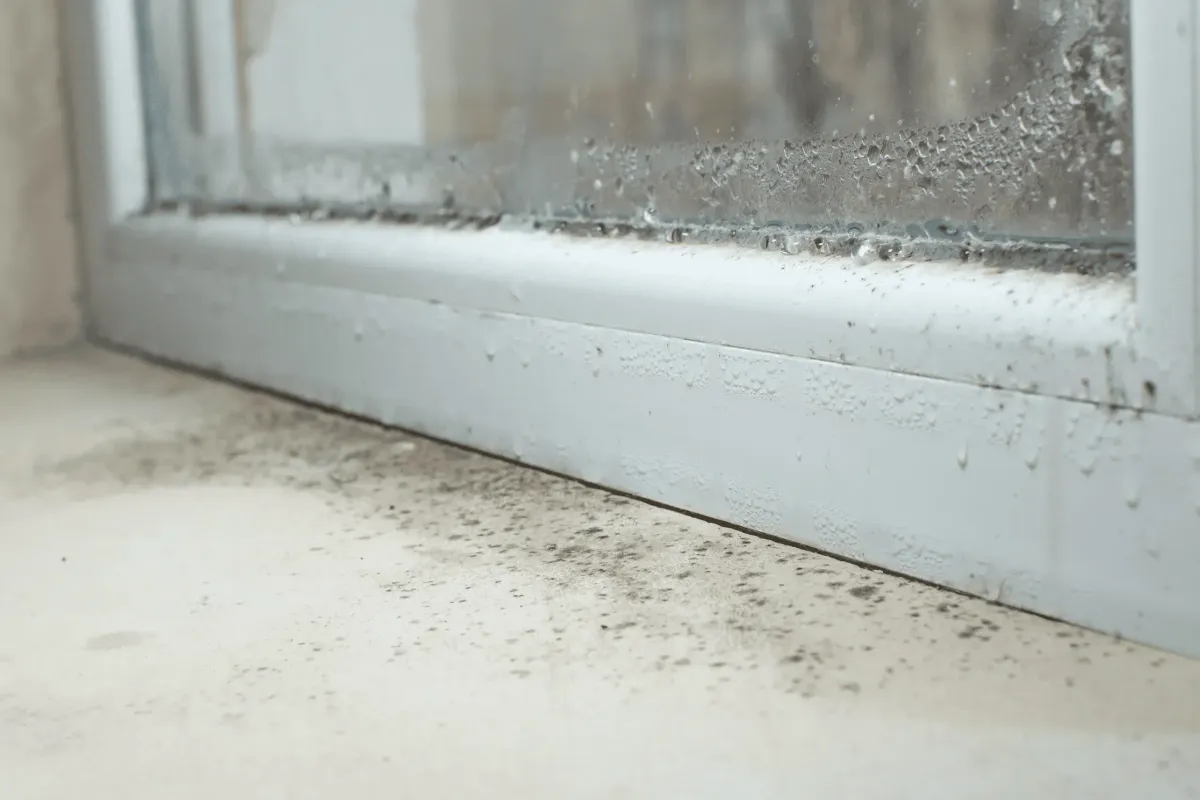
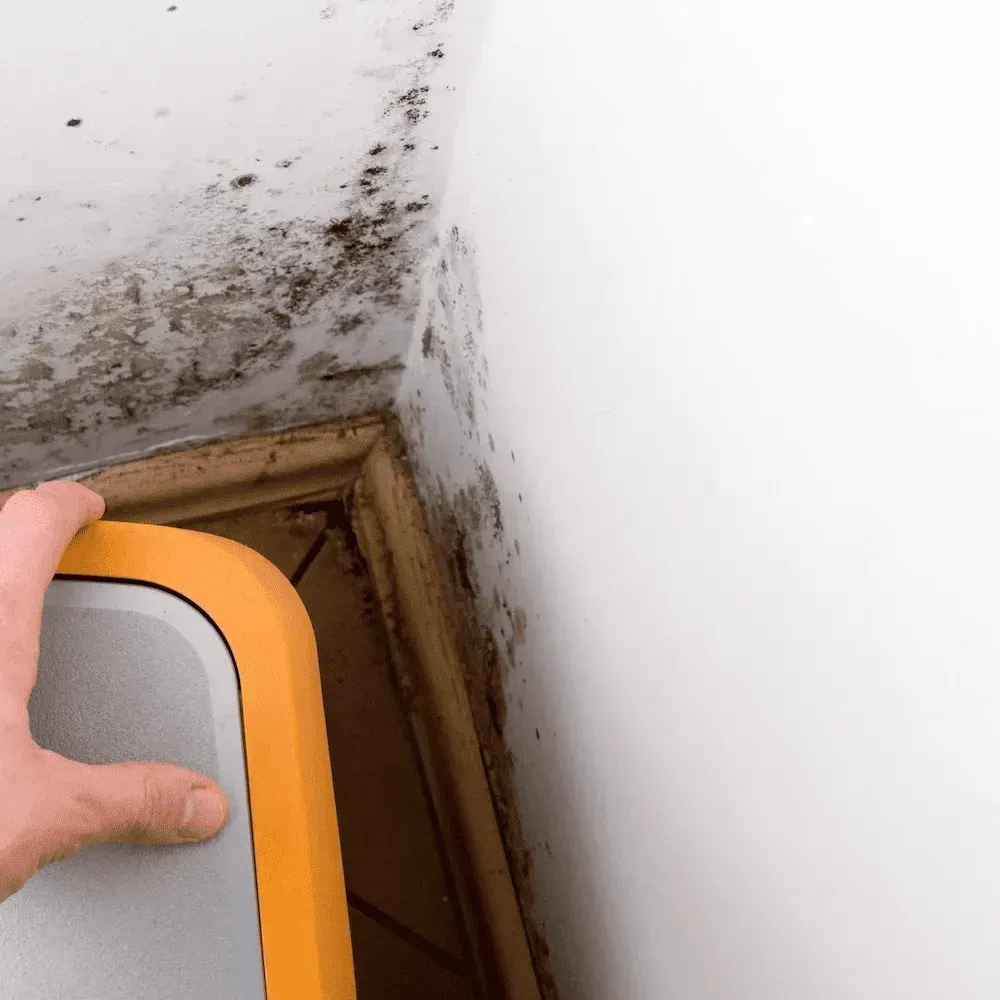
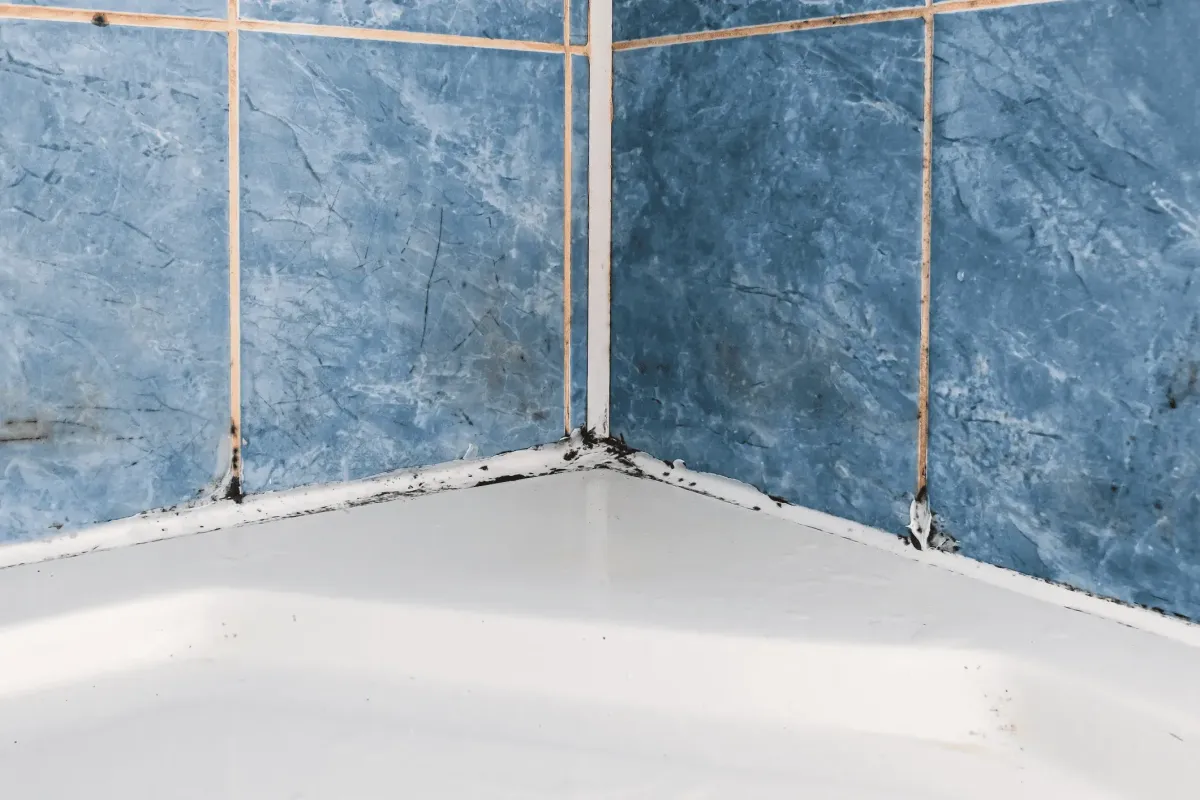
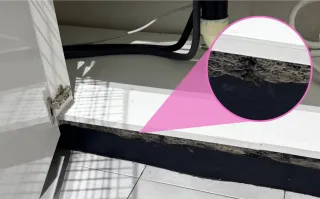
Step 1: Investigation
During this step, we inspect every square inch of your bathroom—around and behind mirrors and cabinets, around and on top of door and window frames, showers, baths, and more. If necessary, we may even remove small portions of drywall or access roof cavities above your bathroom.
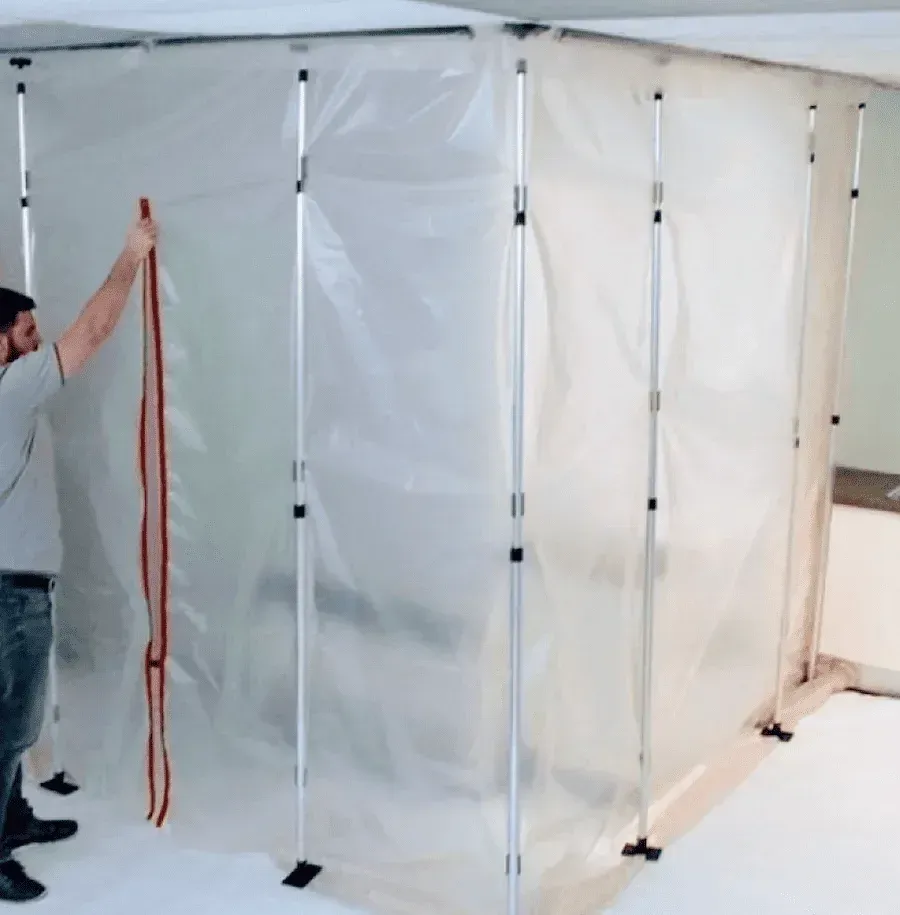
Step 2: Containment
The most commonly overlooked step in mould remediation is containment. During this phase, we engineer a physical barrier to contain the mould spores within a single area. Without containment, mould spores can quickly spread throughout the home, increasing the likelihood of further outbreaks.
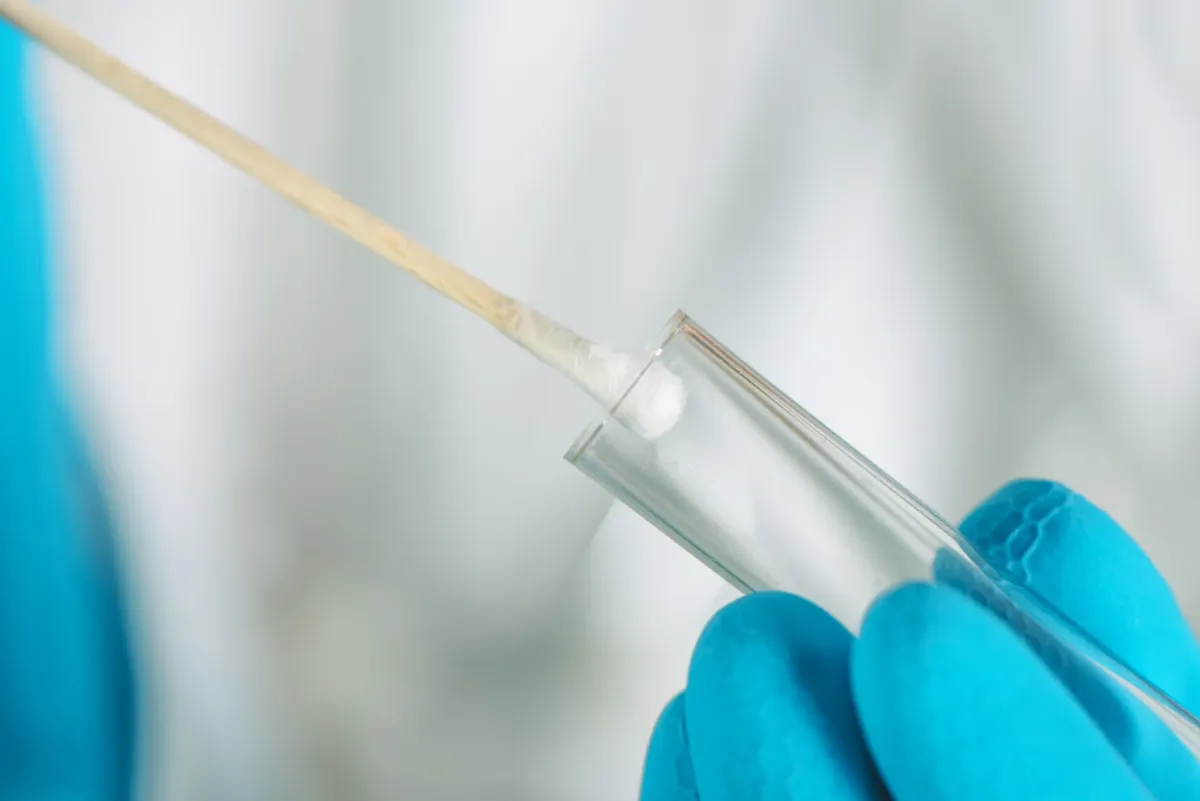
Step 3: Swab
The third step in our process is to swab the affected areas to assess the concentration of mould. This provides a baseline for later comparison, allowing us to demonstrate the significant reduction in mould spores.
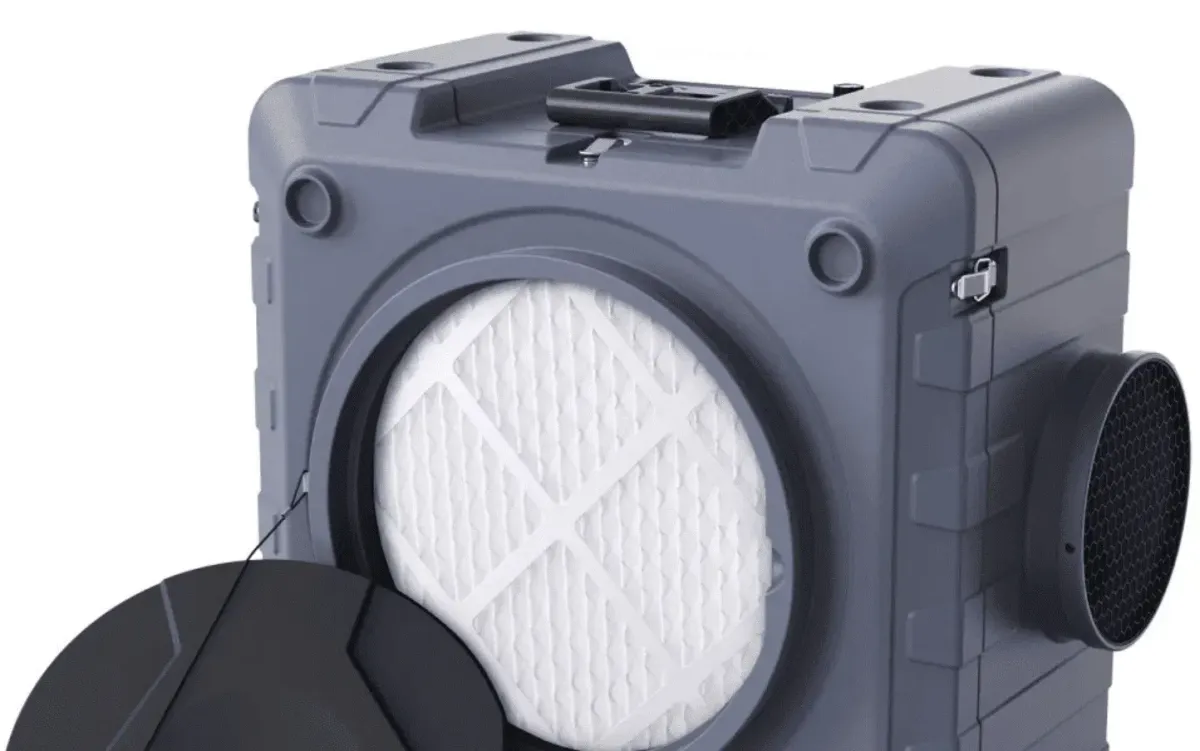
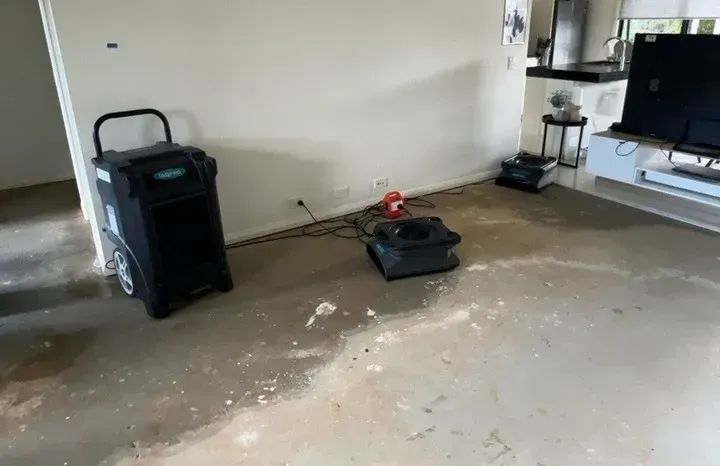
Step 4: Run HEPA Filter
Throughout the project, we will run a HEPA filter within the contained area. This filter continuously removes mould spores and other contaminants from the air, reducing the chances of contamination outside the containment zone.
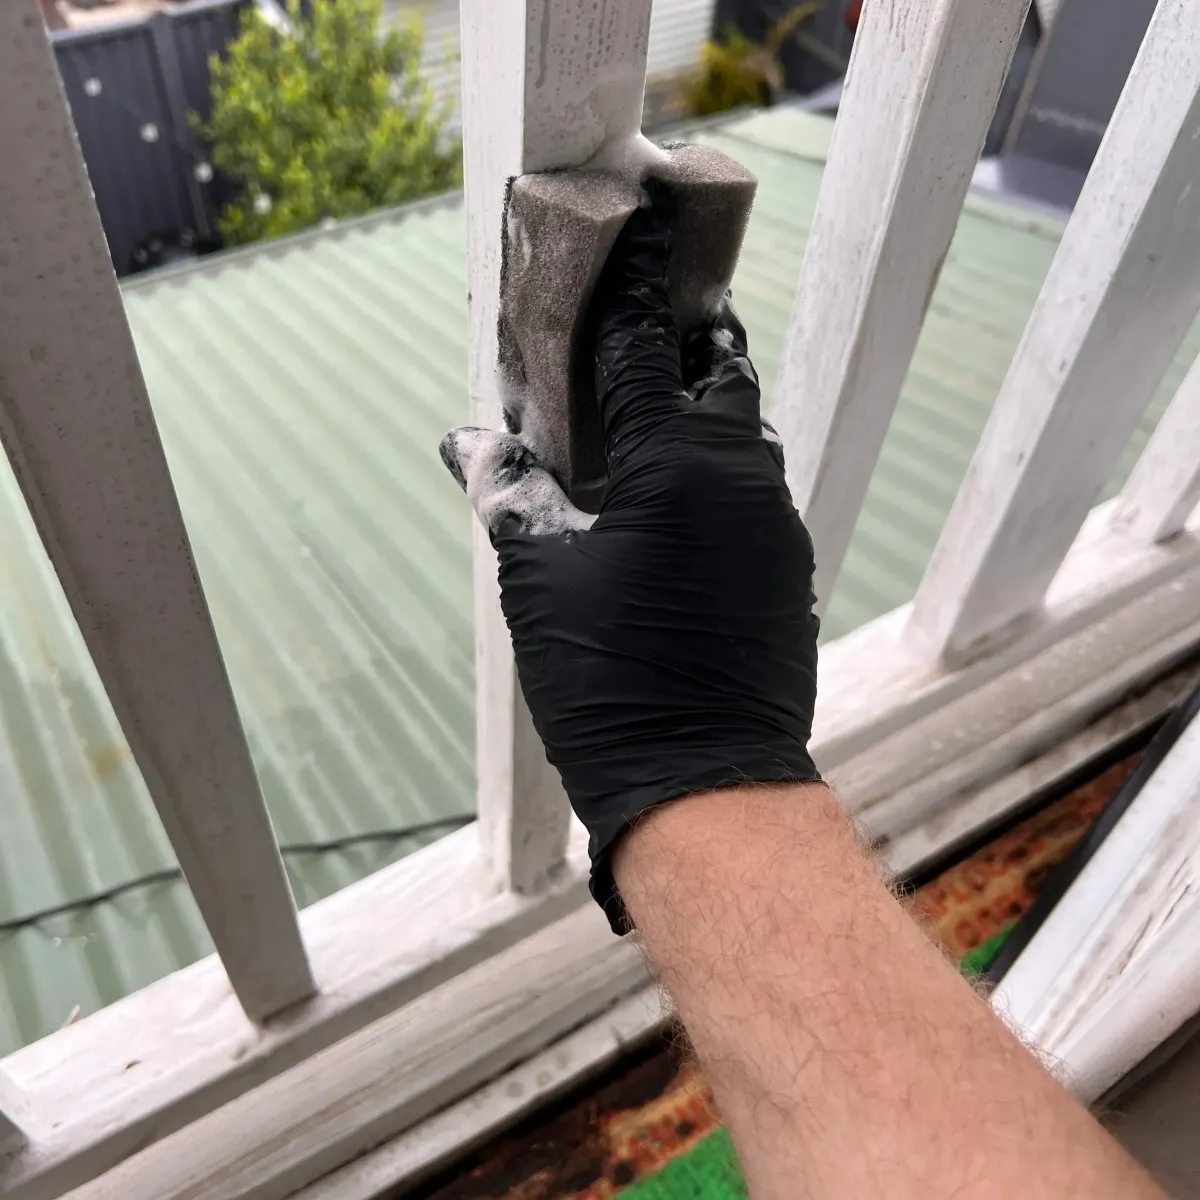
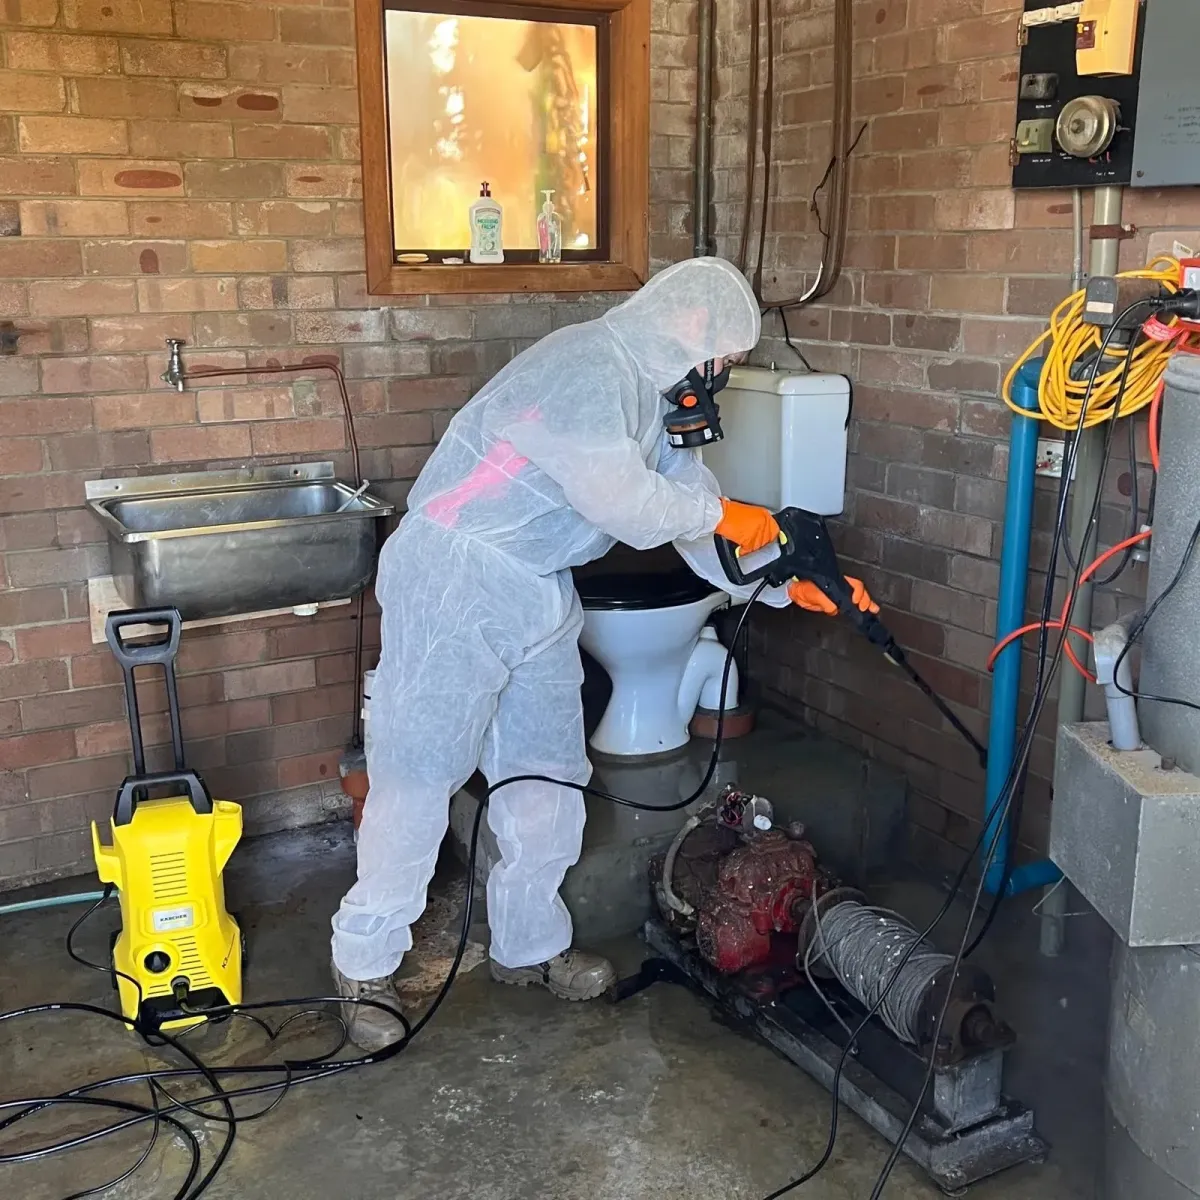
Step 5: Treat All Mould
Using a range of chemical and physical techniques we will removal all mould within your bathroom. This may include removing grout, removing silicone, sanding walls as well as spraying and wiping non-porus surfaces.
Step 6: Re-Grout
Due to the porous nature of grout, hidden mould spores can continue to proliferate even after treatment. We recommend carefully removing the affected grout and replacing it with fresh grout. Additionally, we suggest sealing the grout to reduce water penetration in the future.
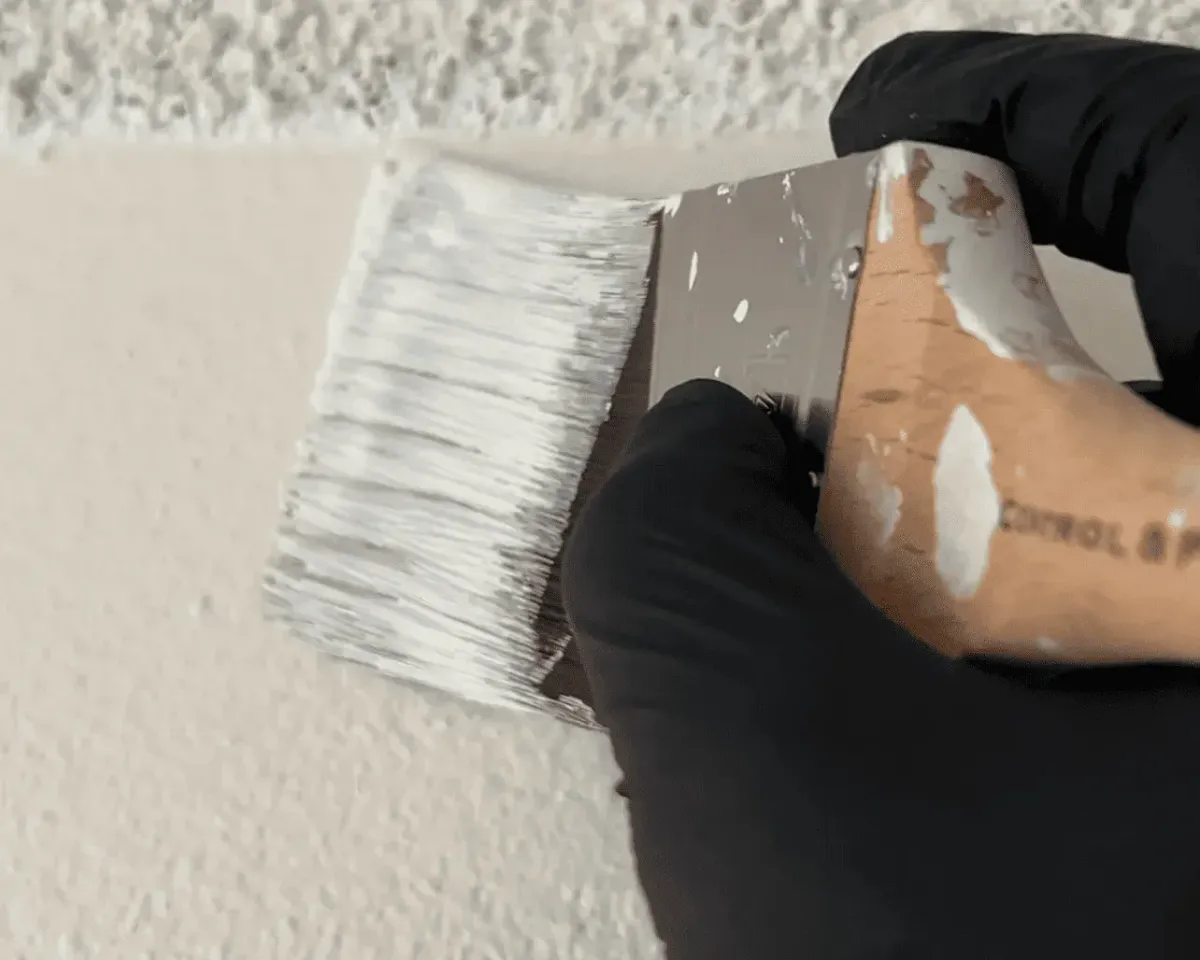
Step 7: Re-Paint
After treatment, we recommend repainting any walls and ceilings including adding a mould-resistant additive. This helps to create a protective barrier that not only enhances the appearance of your space but also prevents the return of future mould growth by inhibiting the conditions that support it.
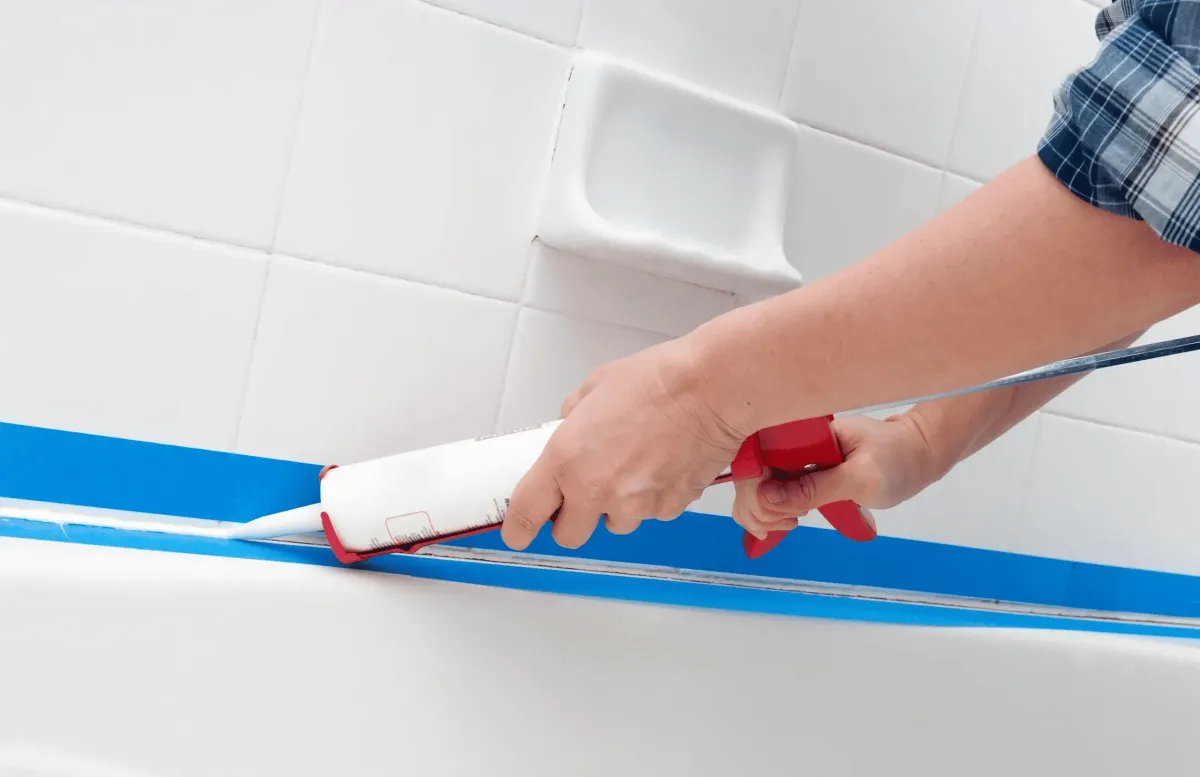
Step 8: Re-Caulk
Over time, caulking can degrade and become a perfect hiding place for mould. We recommend removing all old caulking and replacing it with fresh, contaminate free caulking.
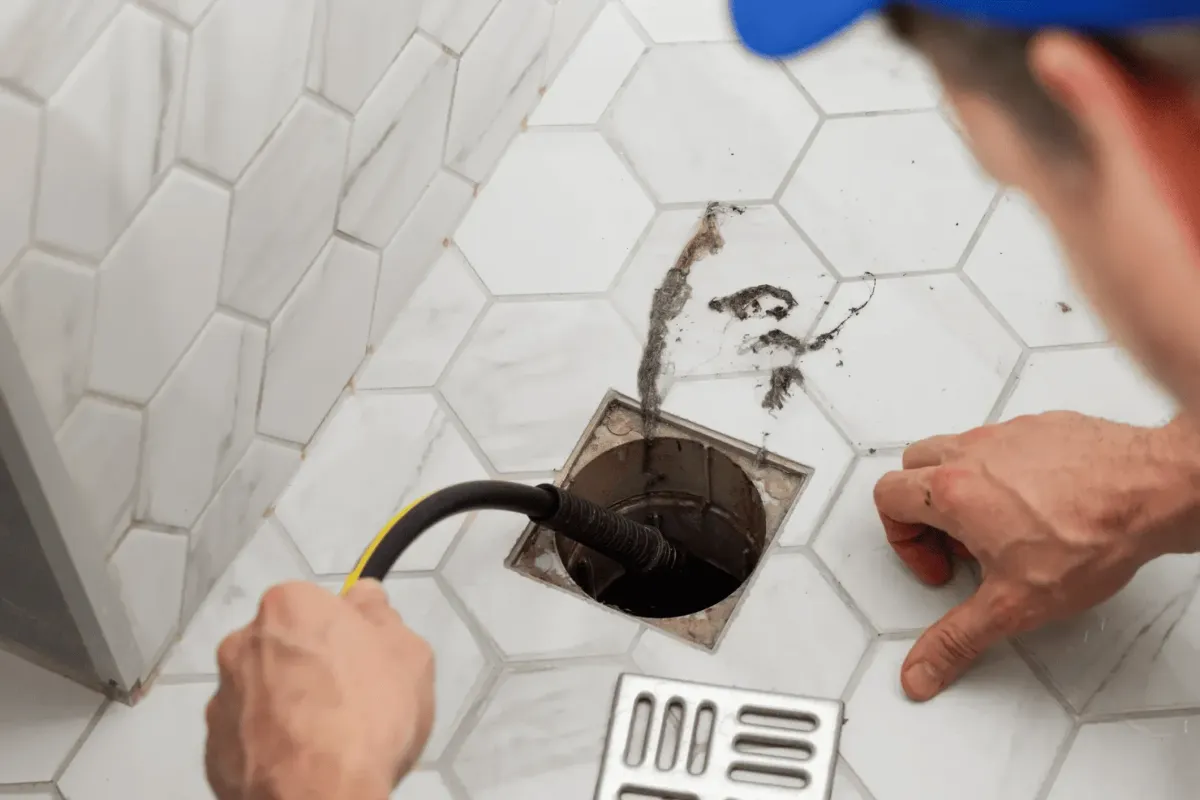
Step 9: Drains
An often overlooked but important step is cleaning the sink drain, shower drain, and overflow drains. These drains often contain mould spores, which can make their way back into your bathroom if not properly addressed.
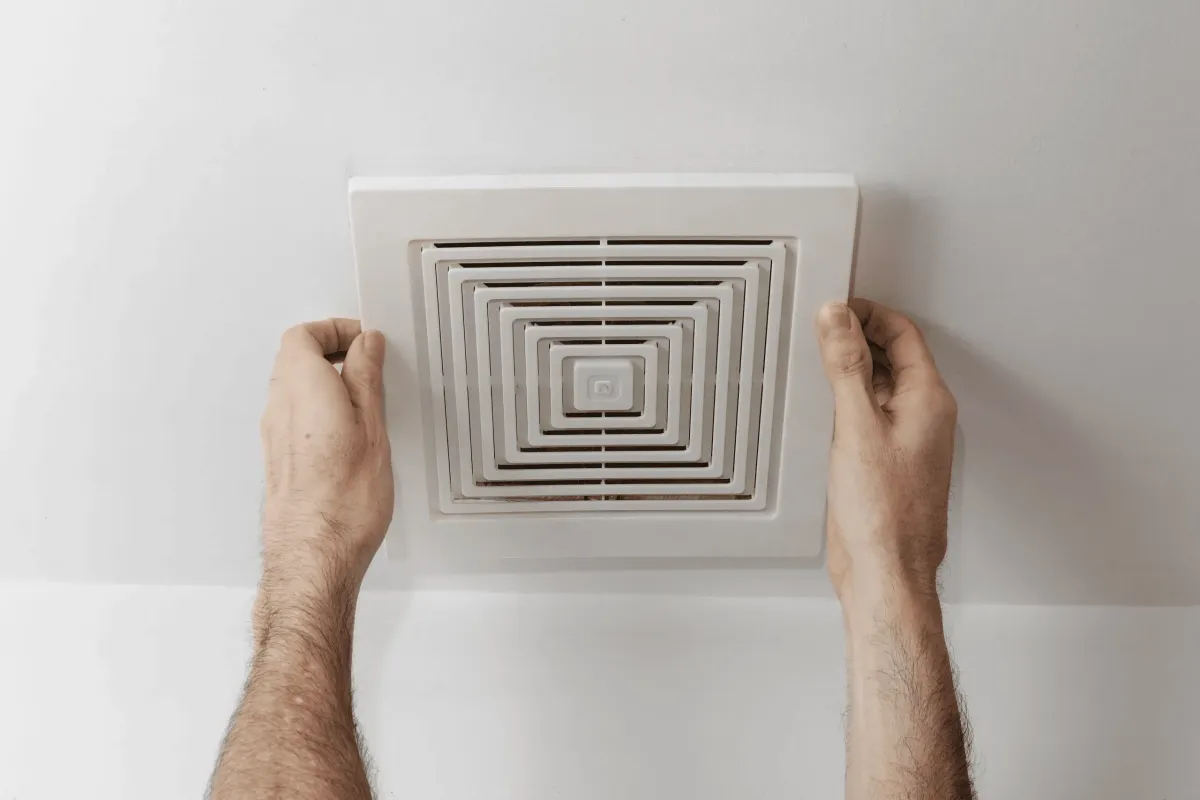
Step 10: Exhaust Fan
To reduce the chances of mould in the future, we will install an exhaust fan. An exhaust fan pulls warm, damp air out of the bathroom, making the conditions less conducive to mould growth.
Step 11: Swab Again
Upon completion of the project, we will conduct a final swab to assess the improvements we’ve made to the environment. This will provide you with peace of mind that your bathroom is now safe and habitable for your family.

Contact Us Today

BATHROOM MOULD PROCESS
Step 1: Containment
The most commonly overlooked step in mould remediation is containment. During this phase, we engineer a physical barrier to contain the mould spores within a single area. Without containment, mould spores can quickly spread throughout the home, increasing the likelihood of further outbreaks.
Step 2: Swab
The second step in our process is to swab the affected areas to assess the concentration of mould. This provides a baseline for later comparison, allowing us to demonstrate the significant reduction in mould spores.
Step 3: Run HEPA Filter
Throughout the project, we will run a HEPA filter within the contained area. This filter continuously removes mould spores and other contaminants from the air, reducing the chances of contamination outside the containment zone.
Step 4: Investigation
Once we have contained the area, we begin investigating the extent of mould contamination. During this step, we inspect every square inch of your bathroom—around and behind mirrors and cabinets, around and on top of door and window frames, showers, baths, and more. If necessary, we may even remove small portions of drywall or access roof cavities above your bathroom.
Step 5: Treat All Mould
Throughout the project, we will run a HEPA filter within the contained area. This filter continuously removes mould spores and other contaminants from the air, reducing the chances of contamination outside the containment zone.
Step 6: Re-Grout
Due to the porous nature of grout, hidden mould spores can continue to proliferate even after treatment. We recommend carefully removing the affected grout and replacing it with fresh grout. Additionally, we suggest sealing the grout to reduce water penetration in the future.
Step 7: Re-Paint
After treatment, we recommend repainting any walls and ceilings including adding a mould-resistant additive. This helps to create a protective barrier that not only enhances the appearance of your space but also prevents the return of future mould growth by inhibiting the conditions that support it.
Step 8: Re-Caulk
Over time, caulking can degrade and become a perfect hiding place for mould. We recommend removing all old caulking and replacing it with fresh, contaminate free caulking.
Step 9: Drains
An often overlooked but important step is cleaning the sink drain, shower drain, and overflow drains. These drains often contain mould spores, which can make their way back into your bathroom if not properly addressed.
Step 10: Exhaust Fan
To reduce the chances of mould in the future, we will install an exhaust fan. An exhaust fan pulls warm, damp air out of the bathroom, making the conditions less conducive to mould growth.
Step 11: Swab Again
Upon completion of the project, we will conduct a final swab to assess the improvements we’ve made to the environment. This will provide you with peace of mind that your bathroom is now safe and habitable for your family.
Contact Us Today

Our Thoughts:
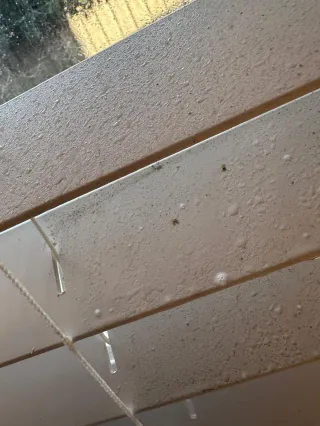
Bathroom Ceiling Mould Removal and Treatment in Blacktown, NSW
A homeowner in Blacktown NSW contacted High Demand Restoration after discovering mould growth on their bathroom ceiling above the bath and shower area. Our team carried out a detailed inspection, comp... ...more
Mould
June 25, 2026•2 min read
Hidden Mould and Water Damage in a Kitchen in Kirrawee, NSW
A hidden wastepipe leak in a Kirrawee kitchen caused moisture buildup beneath the sink cabinet, resulting in mould growth that required professional mould remediation and drying works. ...more
Mould
May 07, 2026•2 min read

Strong Mould Odours and Significant Mould Damage to Kitchen in Kirrawee, The Sutherland Shire
Professional mould remediation was carried out in a Kirrawee kitchen after mould developed beneath the sink following a previous water leak. The works involved containment, removal of mould-affected c... ...more
Mould
April 22, 2026•2 min read
Our Thoughts:
Bathroom Ceiling Mould Removal and Treatment in Blacktown, NSW
A homeowner in Blacktown NSW contacted High Demand Restoration after discovering mould growth on their bathroom ceiling above the bath and shower area. Our team carried out a detailed inspection, comp... ...more
Mould
June 25, 2026•2 min read
Hidden Mould and Water Damage in a Kitchen in Kirrawee, NSW
A hidden wastepipe leak in a Kirrawee kitchen caused moisture buildup beneath the sink cabinet, resulting in mould growth that required professional mould remediation and drying works. ...more
Mould
May 07, 2026•2 min read
Strong Mould Odours and Significant Mould Damage to Kitchen in Kirrawee, The Sutherland Shire
Professional mould remediation was carried out in a Kirrawee kitchen after mould developed beneath the sink following a previous water leak. The works involved containment, removal of mould-affected c... ...more
Mould
April 22, 2026•2 min read
SOME OF OUR RECENT WORK

ABN: 35677824609
ACN: 677824609
IICRC Certification: 70174269
Sydney-Wide, Wollongong, The Illawarra & Surrounds
Call us today (02) 9090 4625
Email: [email protected]